Create bundles
A bundle is a grouping of two or more products that is marketed and sold together as a single product. This can be a good way to introduce customer to additional useful products they may not already be aware of, and can simplify their shopping experience.
There are different options that you can apply to a bundle to specify how it is purchased and under what conditions the bundle, or individual products within it, can be canceled. When you first create a bundle, it uses a set of default options which you can modify before publishing it, in particular the cancellation restrictions. For more information, see Configure cancellation restrictions.
To create bundles
📝 Note: If the AppDirect logo appears in the upper-left corner of the page, when Manage > Marketplace appears in this topic, click the grid icon > Switch to | Store, instead.
-
Go to Manage > Marketplace > Products > PROMOTIONS | Bundles. The Bundles page opens.
-
Click Add Bundle. The New Bundle dashboard page opens.
-
Click Listing information. The Listing Information page opens. Complete the text fields:
- Company name—Company name that appears with the bundle. It can be unique for each bundle.
- Short description—Brief description of the bundle. We recommend a maximum of five words, as it appears as a title.
- Description—Description of the bundle. We recommend no more than 150 words so that it is succinct and quick to read.
-
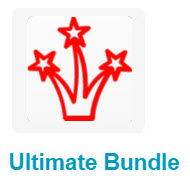
(Optional) Upload a Bundle listing logo. We recommend a 118px-by-118px image to best fit the page design. When the bundle is displayed on a marketplace page, it appears with this logo. The following images show an example bundle logo as it appears on different marketplace pages.

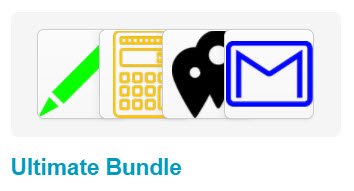
If a Bundle listing logo is not uploaded, an auto-generated logo appears. It is a single image compiled from the logos of the first four applications added to the bundle. The following images show an example of an auto-generated bundle logo as it appears on different marketplace pages.


-
Upload an Overview image. We recommend a 550px-by-330px screenshot to best fit the page design. The Overview image appears with the description of the bundle. Use it to highlight, for example, the features or benefits of the bundle.
-
Click Save. A green message appears confirming that the bundle listing information is saved.
-
Click Applications. The applications page opens.
-
In the Add Apps to Bundle column, click Select beside a product that you want to include in the bundle. The Choose an edition dialog opens.
-
Click the edition that you want to include in the bundle, then click Save. The dialog closes and the Apps in Bundle column displays the product. The product is unavailable in the Add Apps to Bundle column.
-
Repeat the last two steps to add more products to the bundle. You can add between two and ten products to a bundle.
📝 Note: By default, products from any developer can be combined in a bundle. However, you can request that AppDirect configure your marketplace to limit each bundle to products from one developer. If this is a desirable constraint for your marketplace and it is not yet configured, contact your AppDirect technical representative.
-
Click Save. A message appears that confirms that the products are saved to the bundle. The bundle is saved with the default Cancellation restrictions.
-
Continue to Configure cancellation restrictions to view the default settings and edit them if you choose.
Was this page helpful?
Tell us more…
Help us improve our content. Responses are anonymous.
Thanks
We appreciate your feedback!